There are three basic ways you can put up or share media files to complement the lessons you’re catering to with your Learning Management System (LMS). These are:
- Inserting a link, which leads to a different site where the media is found;
- Uploading a file you have in your archive; and
- Pasting a URL/Code so the video is embedded.
Either of these methods is good, but it depends on the situation. Sometimes people choose one over the other due to technical issues (i.e. permissions, availability, upload speeds, etc.). But in case you need to choose one over the three, these tips will help you out:
Linking is probably the easiest because you simply ask the learner to go to a website where the file or media is found. This, of course, is subject to the website’s availability, which means that the completeness of your lessons will suffer if that link becomes dead. So make sure to link only to sites that you trust.
Uploading can take a really long while and will be dependent on your server’s capacity. It will also slow down backups and restoring of backups. The good thing about this, however, is that you never have to worry about the typical issues you get from posting media that’s not yours (i.e. availability, licensing, etc.). So if you have the means, try to actually upload the files to your media library.
Embedding a media file, such as a video from YouTube is a great way to go. It makes it easy for readers to refer to the content without having to move away from what they’re currently reading.
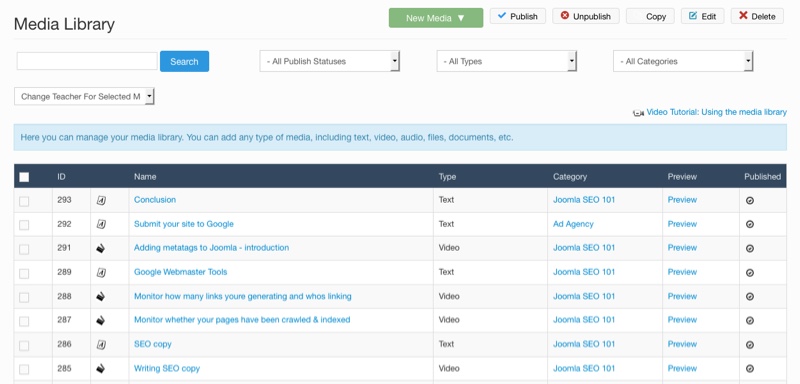
Guru, our Joomla LMS is capable of catering to all styles of adding to your media library. It’s always better to have different methods available so you can choose the method that’s right for you.